Achieving Perfect Color Intensity with Mica Glitter in Scented Candles
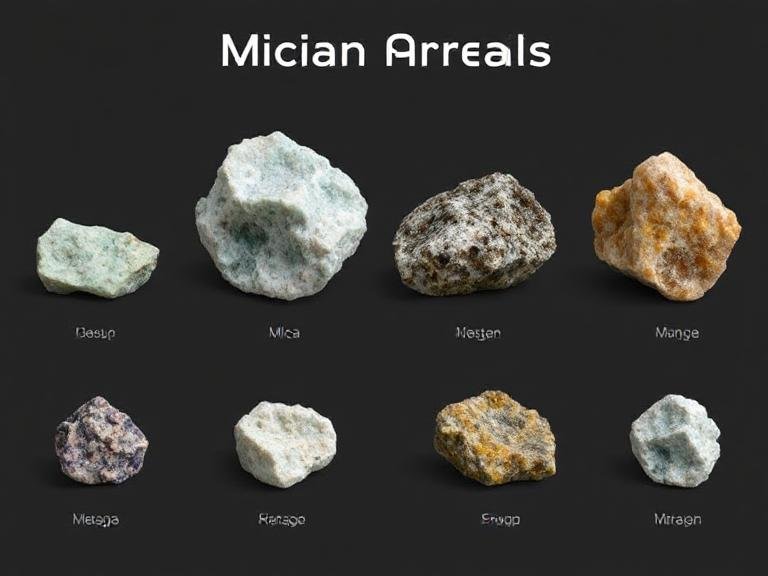
Understanding Mica Glitter Properties for Candle Making
Mica glitter offers candle makers a versatile way to add shimmer and color without compromising burn quality. These mineral-based pigments reflect light uniquely, creating depth that traditional dyes can’t match. The particle size of mica affects both color intensity and sparkle effect—finer particles produce softer hues while larger flakes create more dramatic shimmer.
Thermal stability ensures mica maintains its color during melting and pouring. Unlike some organic dyes that fade or change hue at high temperatures, mica remains consistent throughout the candle-making process. This reliability helps achieve predictable results batch after batch.
Compatibility with wax types varies slightly between mica formulations. Most work well with soy, paraffin, and coconut waxes, but testing small batches first prevents surprises. Some mica blends contain additional ingredients that might affect adhesion or burn characteristics when used excessively.
Determining Base Dosage for Initial Color Tests
Start with conservative measurements when experimenting with new mica shades. For every 16 ounces (454 grams) of wax, begin with 1/8 teaspoon of mica glitter. This low starting point allows gradual adjustment without wasting materials or creating overly saturated colors.
Stir mica thoroughly into melted wax to prevent clumping. Use a dedicated silicone spatula or stainless-steel spoon reserved for candle making. Incomplete mixing leads to streaky coloration or uneven sparkle distribution in the finished candle.
Test pour small samples before committing to full batches. Pour 2-3 ounces of colored wax into prepared containers and let cool completely. This reveals the true final color after wax contraction and provides insight into how the mica behaves during cooling.
Adjusting Intensity for Desired Visual Effects
For deeper, more saturated colors, increase mica dosage incrementally. Add another 1/16 teaspoon to your base measurement and remix thoroughly. Document each adjustment to recreate successful formulas later. Remember that darker colors may appear more muted when the candle burns.
Lightening colors requires careful blending with additional uncolored wax. Melt extra wax separately, then combine it with your colored batch in small increments. Stir well after each addition until reaching the desired pastel shade. This method maintains sparkle while reducing overall pigment density.
Creating metallic effects involves balancing mica quantity with wax transparency. For strong metallic finishes, use slightly higher mica concentrations (up to 1/4 teaspoon per 16 ounces). For subtle shimmer, stay closer to the initial 1/8 teaspoon measurement. Test different ratios to find your preferred intensity.
Layering Techniques for Multidimensional Designs
Swirled patterns combine multiple mica colors in single candles. Pour a base layer of one color, let it partially set, then drizzle contrasting colors on top. Use a skewer or toothpick to gently swirl the colors together without fully mixing them. This creates marbled effects that reveal different hues as the candle burns.
Gradient effects require precise pouring at different temperatures. Start with your darkest mica-colored wax at the highest recommended pouring temperature. As the candle cools and forms a skin, pour progressively lighter shades at slightly lower temperatures. This creates smooth transitions between color layers.
Embedded designs use mica to highlight specific elements within candles. Mix mica with a small amount of melted wax to create a paint-like consistency. Use a fine brush to apply this mixture to molds before pouring clear wax. Alternatively, paint designs directly onto cooled candle surfaces before adding final layers.
Troubleshooting Common Mica Application Issues
Clumping occurs when mica isn’t properly dispersed in wax. Prevent this by sifting mica through a fine mesh strainer before adding it to melted wax. Alternatively, mix mica with a small amount of isopropyl alcohol to create a slurry, then stir this into your wax. The alcohol evaporates during cooling, leaving evenly distributed mica.
Sedimentation happens when heavier mica particles settle during cooling. Stir your wax mixture every 15-20 minutes during the cooling process to keep mica suspended. For large batches, consider using a drill with a paint mixer attachment for thorough blending.
Clogged wicks result from excessive mica accumulation. Stick to recommended dosages and avoid using very large mica flakes in container candles. If wick clogging occurs, reduce mica quantity by half and test again. Consider switching to finer-grind mica formulations for problematic recipes.