DIY Jewelry with Mica Sheets: The Hidden Gem for Handmade Accessories
Walk into any well-stocked craft supply aisle and you’ll find resin, polymer clay, glass cabochons — all the usual suspects. But tucked between the adhesives and findings, thin mica sheets sit quietly, overlooked by most jewelry makers. That’s a shame. Because once you start embedding these iridescent silicate layers into rings, pendants, and earrings, you quickly realize why luthiers, watchmakers, and mineral collectors have prized mica for centuries. It catches light like opal, holds shape like glass, and costs almost nothing per sheet.
This guide walks through the practical side of working with mica in handmade jewelry — cutting, embedding, setting, and finishing — without any fluff or sales pitch. Just what you need to start making pieces that actually look professional.
Why Mica Sheets Work So Well in Handmade Jewelry
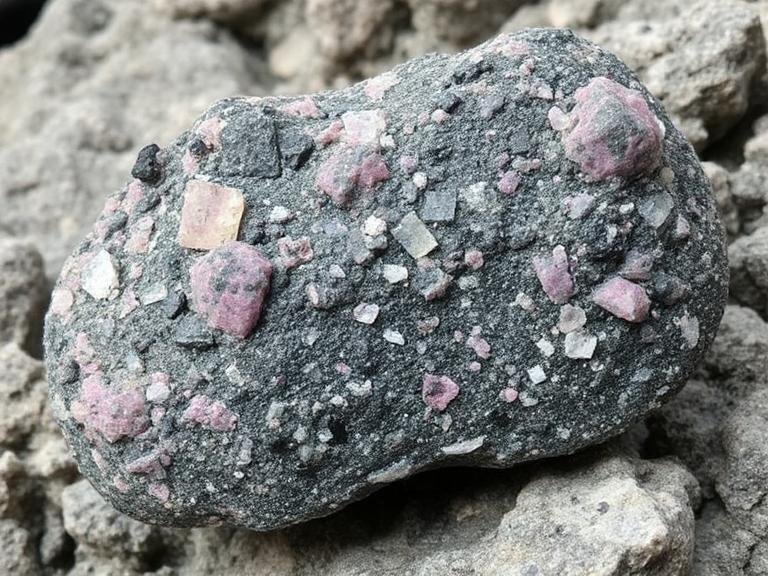
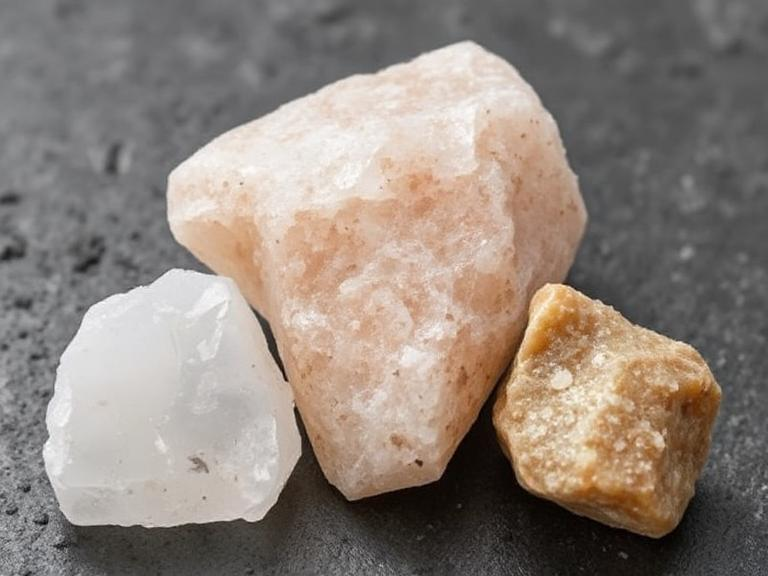
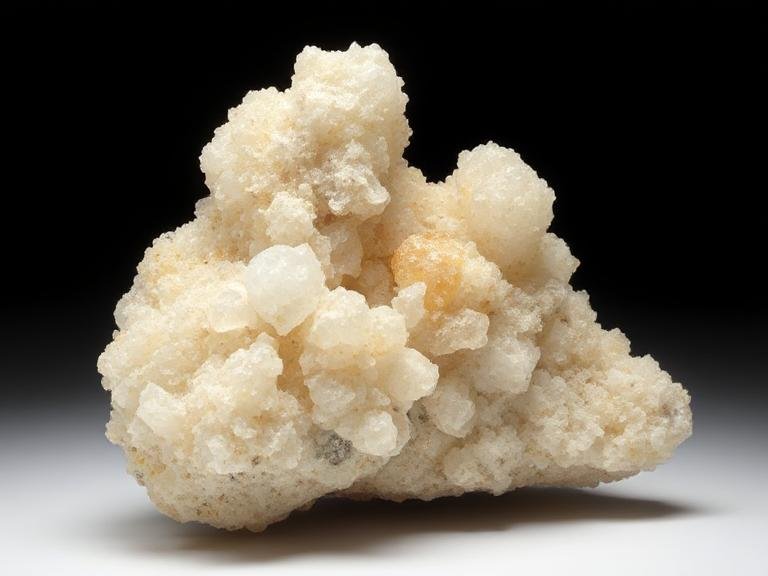
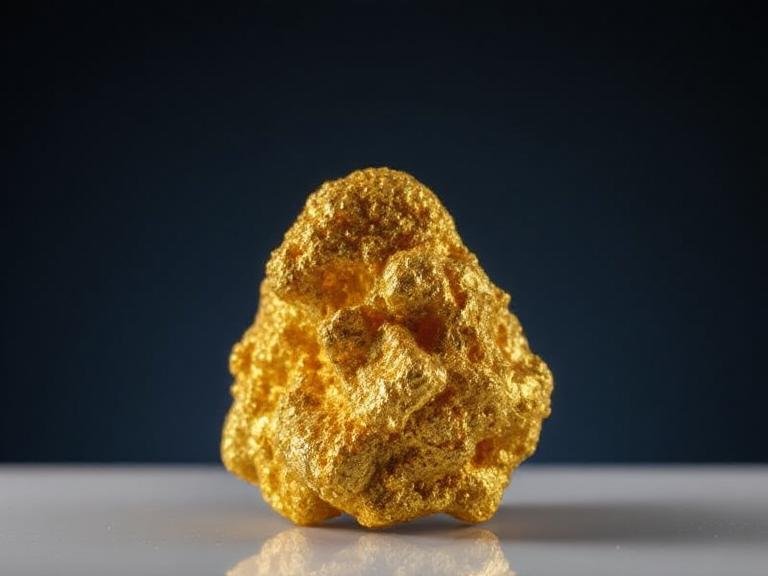
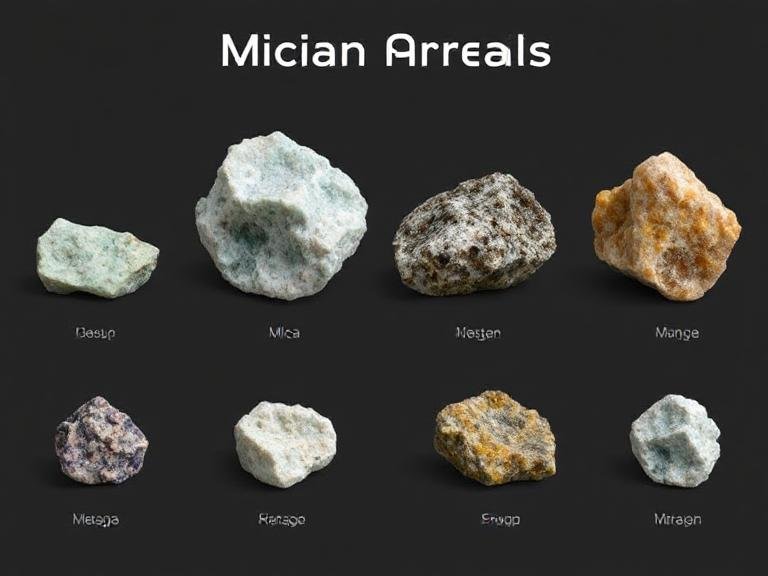
Mica is a naturally occurring mineral that splits into thin, flexible, translucent layers. Those layers do something no other craft material quite manages: they refract light internally and produce a soft, shifting iridescence that changes depending on the angle you hold the piece. Think of it as frozen rainbows sandwiched between your fingers.
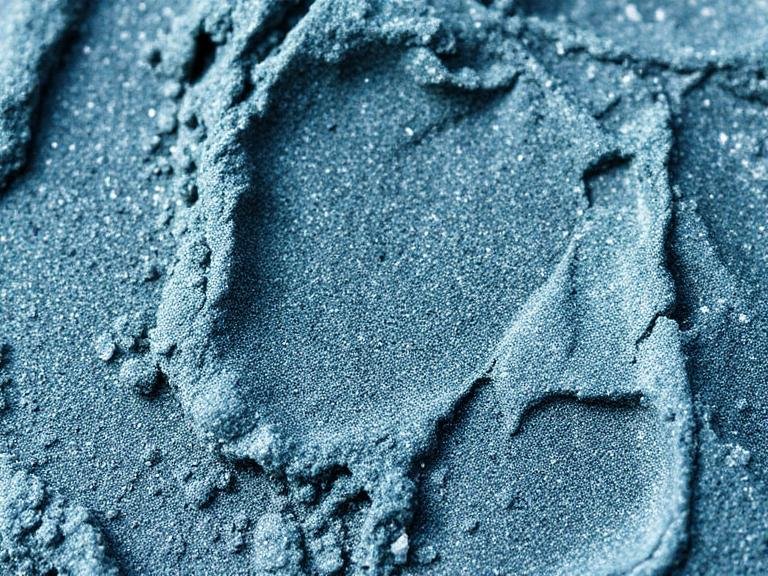
Unlike mica powder or flakes, pre-cut mica sheets give you a solid, workable surface. You can saw them, score them, sand them, and even heat-form them with a heat gun — all with basic tools sitting around your workbench. That versatility is why mica shows up in everything from vintage costume jewelry to modern minimalist pendants.
The mineral is also chemically inert and non-toxic, which matters when you’re pressing it against skin for hours. No allergic reactions, no off-gassing like some epoxies produce. For people with sensitive ears or skin, mica-set jewelry is genuinely one of the safer choices in the DIY world.
Cutting and Shaping Mica for Jewelry Settings
Scoring and Snapping
The easiest way to cut mica is to score it with a sharp hobby knife or a carbide-tipped scribe. Lay the sheet on a flat surface — a glass tile works better than a cutting mat because mica tends to skid on rubber. Press firmly along your line, then flip the sheet and score the back side at the same depth. Snap it along the score line with a gentle bend.
For curves or circles, a jeweler’s saw with ultra-fine teeth handles thin mica beautifully. Go slow — mica is brittle and will chip if you force the blade. A pin vise holds tiny mica pieces securely while you file edges smooth.
Heat Shaping with a Heat Gun
Here’s where mica gets fun. Hold a heat gun a few inches above a small mica piece and watch it soften. At around 600–700°C at the surface (well below the point of actual damage), the layers become pliable enough to drape over a dome mandrel or press into a bezel cup. You won’t reach that temperature with a craft heat gun — but you get close enough to gently curve thin sheets without cracking. Practice on scraps first. The sweet spot is when the mica turns from rigid to leathery, usually within 5–8 seconds of heat exposure on 0.2–0.5 mm thick material.
Embedding Techniques That Actually Hold Up
Resin Encapsulation
Epoxy resin remains the most popular way to set mica in jewelry. The trick is layering. Place your cut mica piece inside a silicone mold or bezel frame, then pour a thin layer of resin first — just enough to cover the mica and trap it. Let it cure to a tacky state, then pour the rest. This two-pour method prevents the mica from floating to the top or shifting sideways, which is the number one complaint beginners have with resin-mica projects.
Use low-viscosity resin for thin settings. Thick resin traps air bubbles around the mica edges and ruins the optical clarity. A brief torch pass or pressure pot helps, but honestly, pouring slowly from a height of 15 cm eliminates most bubbles without extra equipment.
Bezel and Prong Settings
Mica doesn’t need resin at all if you use a proper bezel. Soft metals like copper, brass, or silver wire can be wrapped around a mica disc to create a clean framed pendant. The mica sits flush inside the wire rim, held by friction and a tiny dab of adhesive on the back. This method produces a lighter, more delicate look than resin — perfect for dangle earrings where weight matters.
Prong settings work too, but only on thicker mica (1 mm or above). Thin mica will shatter under prong pressure. Drill a tiny hole through a thick mica disc, thread it onto a chain, and secure with a jump ring. The iridescence peeks through the hole like a window.
Decoupage and Lamination
For flat pendants or cabochon-style pieces, mod podge or a thin UV resin coat laminated over mica creates a glass-like finish. Cut the mica to shape, apply adhesive to both sides, and press between two sheets of clear acetate or glass. Trim the edges with a rotary tool. The result looks like polished gemstone but weighs almost nothing.
Finishing and Protecting Your Mica Jewelry
Raw mica edges are sharp and will snag fabric or scratch skin. Always sand the perimeter with 600-grit wet sandpaper, then buff with a microfiber cloth. If you used resin, a final polish with plastic polish brings out the depth of the mica layers — the iridescence pops more when the surface is optically smooth.
Sealing the back of mica pieces prevents moisture from creeping between layers over time. A thin coat of clear nail polish or UV resin on the reverse side does the job. This step is especially important for earrings and rings that see daily water exposure.
Avoid ultrasonic cleaners on finished mica jewelry. The vibrations can delaminate thin sheets over repeated cycles. A soft brush and warm soapy water is all you need for routine cleaning.
Design Ideas That Go Beyond the Obvious Pendant
Most tutorials stop at “make a resin pendant with mica flakes.” But the sheet form opens up way more possibilities.
Inlay mica into wood or leather cuffs. Cut a shallow recess, drop in a mica disc, and seal with resin. The contrast between organic texture and mineral shimmer looks high-end.
Layer multiple mica sheets of different colors — gold, silver, pale green — inside a clear resin cube. The stacked iridescence creates a depth effect that single-layer pieces can’t match.
Use mica as a backsplash in filigree work. Solder a wire frame, then glue a tiny mica piece behind the openwork. Light passes through the gaps and reflects off the mica, making the whole piece glow from within.
For earring studs, cut mica into tiny geometric shapes — hexagons, triangles, crescents — and set them in bezel cups with a backing disc. The angular cuts catch light differently than round discs, giving each earring a slightly different personality depending on how it moves.
The material rewards experimentation. It’s cheap enough to waste, forgiving enough to reshape, and beautiful enough that even a rough first attempt will make someone ask where you bought it. That’s the real appeal of mica in DIY jewelry — it hides your mistakes and shows off your creativity at the same time.