Mica Thin Sheet Scratch Protection: How to Keep Surfaces Intact From Storage to Installation
A scratch on a mica thin sheet is not a cosmetic problem. It is a functional failure waiting to happen. The surface of mica is where dielectric strength lives. The moment you score it with a fingernail, a tool edge, or even a piece of dust dragged across the face, you create a stress concentrator that concentrates electric field, traps moisture, and initiates partial discharge. In high-voltage applications, a scratch that looks harmless to the naked eye can reduce breakdown voltage by 30 percent or more. Protecting mica thin sheet surfaces is not about being careful. It is about building a handling protocol that treats every square centimeter of surface as critical.
Why Mica Thin Sheet Surfaces Are So Vulnerable
The Crystal Face Is Softer Than You Think
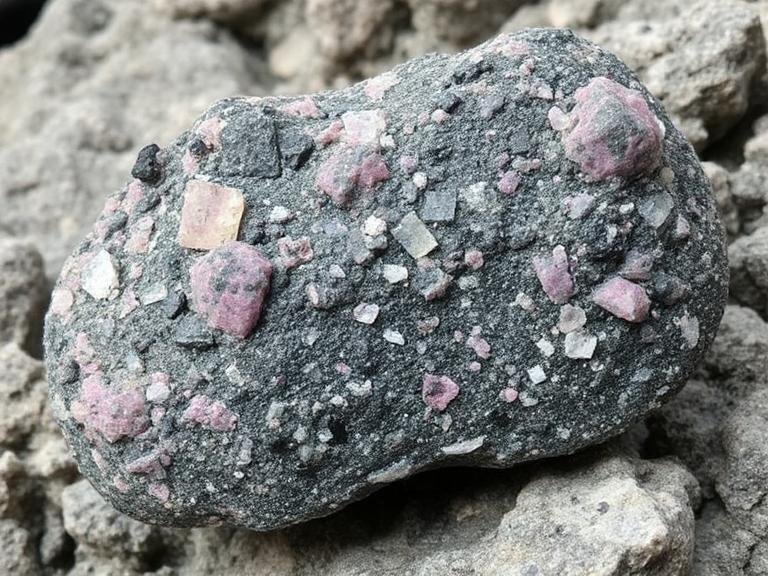
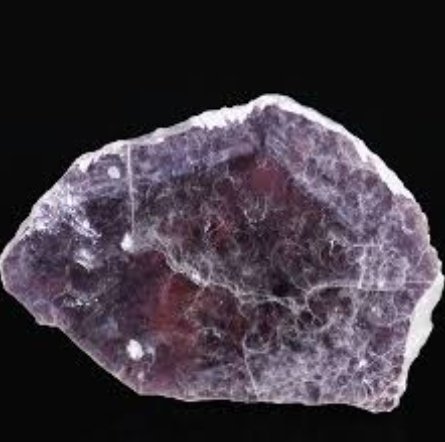
Mica has a Mohs hardness of 2 to 2.5 depending on the variety. That puts it softer than a copper coin. Your fingernail is hardness 2.5. A steel tool edge is hardness 5 or higher. A grain of sand is hardness 7. Every object that touches a mica surface has the potential to scratch it.
The basal plane — the flat face of the mica crystal — is the softest direction. It cleaves easily and it scratches easily. A light drag across the surface with a fingertip leaves a visible line. That line is a groove in the crystal lattice. It is not just a mark. It is a channel where moisture accumulates, where electric field concentrates, and where failure starts.
Thin mica sheet is even more vulnerable than thick mica because there is less material to absorb the damage. A scratch that penetrates 10 percent of the thickness in a 2 millimeter sheet is a minor nuisance. The same scratch in a 0.1 millimeter sheet goes all the way through. The sheet is compromised.
Surface Contamination Acts Like Sandpaper
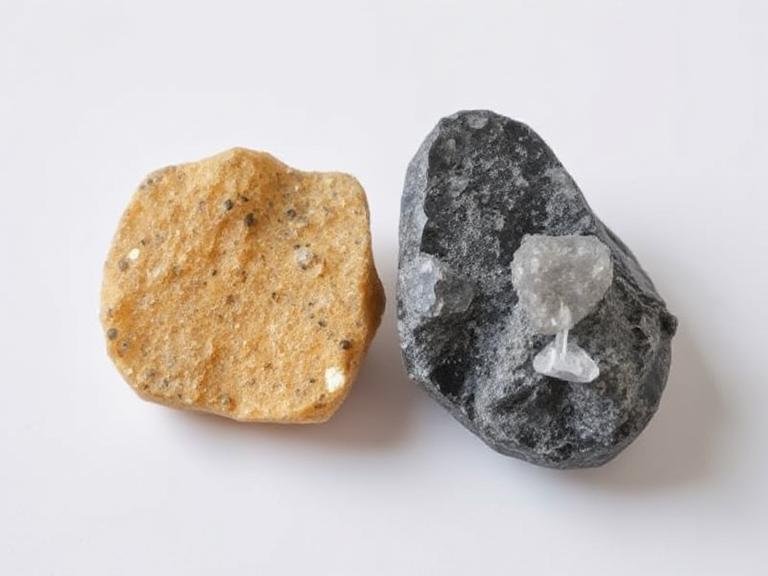
Dust particles on a mica surface are not passive. When you slide the sheet across a contaminated surface, those particles become abrasives. A single grain of quartz dragged across mica under light pressure creates a scratch that is deep enough to affect dielectric performance.
This is why clean rooms exist for mica handling. It is not overkill. It is physics. A surface that looks clean to the eye can still have hundreds of abrasive particles per square centimeter. Each one is a potential scratch source. The particle does not need to be hard — it just needs to be harder than the mica surface, and almost everything is.
Moisture Weakens the Surface Before You Even Touch It
Dry mica is relatively resistant to scratching. Damp mica is not. When moisture sits on the surface, it weakens the interlayer bonds at the crystal face. A scratch that would barely register on dry mica cuts deep into wet mica. The water acts as a lubricant for the abrasive particle and a plasticizer for the mica surface simultaneously.
This is why mica thin sheet stored in humid environments without desiccant develops surface damage even without any physical contact. The moisture softens the surface. Dust settles. The next time someone handles the sheet, the dust scratches the softened surface. The damage looks like it came from handling. It actually came from storage.
Storage Practices That Prevent Surface Scratches
Original Packaging Is Your First and Best Defense
The foil laminate or plastic bag that mica thin sheet ships in is designed to protect the surface. Do not rip it open and leave the sheets exposed on a workbench. Every minute the surface is exposed, it is at risk. Dust settles. Tools bump it. Hands touch it. The packaging exists for a reason.
Transfer sheets to a clean, dedicated storage container only when you need them. Use a rigid box or a flat tray with a lid. Soft bags allow sheets to slide against each other during transport. Sheet-on-sheet contact creates scratches. Separate every sheet with a sheet of clean kraft paper or a thin polyethylene film. The separator must be smooth on both sides — rough paper creates its own scratches.
Desiccant Is Mandatory, Not Optional
Moisture weakens the surface as described above. A desiccant packet inside every storage container keeps the internal atmosphere dry. Use molecular sieve desiccant for long-term storage. It absorbs moisture more aggressively than silica gel and maintains a lower equilibrium humidity.
Change desiccant every 30 days. Use indicator-type desiccant that changes color when saturated. A saturated desiccant packet releases moisture when temperature rises, making the problem worse. Place the desiccant on top of the sheets, not buried inside the stack. It needs to contact the air in the container, not just the sheet surfaces.
Store Flat, Never on Edge
Storing mica thin sheet on its edge means the full weight of any stack above it presses on the edge of the sheet below. The edge is not the problem — the problem is that edge-stored sheets tend to lean and slide. When they slide, the face of one sheet drags across the face of another. That drag creates scratches.
Store every sheet flat on a level surface. Use a dedicated tray or drawer with individual slots for each sheet. The slot width should be 2 to 3 millimeters wider than the sheet to prevent edge contact. If you must stack flat sheets, limit the stack to 10 sheets maximum and separate each one with a smooth sheet of kraft paper.
Handling Techniques That Keep Surfaces Scratch-Free
Never Touch the Surface With Bare Fingers
Skin oils deposit a thin film on mica that attracts dust. The dust becomes abrasive. But the oils themselves can also cause chemical etching over time, especially on mica varieties with high iron content. The iron reacts with the acids in skin oils and the surface degrades.
Wear clean nitrile gloves for every handling operation. Change gloves frequently — a glove that has been on for an hour is no longer clean. Use powder-free gloves. Powdered gloves leave talc or cornstarch on the surface, and those particles are abrasive.
If you must handle the sheet without gloves for alignment purposes, hold it by the edges only. Support the full sheet from underneath with your other hand so the face never bears any load. Even the weight of your own hand pressing on the surface can create pressure marks that weaken the crystal face.
Use Suction Cups or Soft Grippers for Transport
Mechanical grips, tweezers, and clamps all concentrate force on a small area. That force creates pressure marks or scratches at the contact point. Suction cups distribute the force across a wide area and never touch the surface with a hard edge.
For sheets larger than 100 millimeters, use two suction cups spaced apart to keep the sheet level during transport. For smaller sheets, use a soft rubber pad or a silicone-coated gripper. The contact material must be softer than the mica surface. Rubber, silicone, and soft felt all work. Steel, aluminum, and hard plastic do not.
Move Sheets by Sliding, Not Lifting
Lifting a mica thin sheet from one surface and placing it on another creates a scratch risk at both the pickup point and the drop point. The sheet bends slightly during lifting. The bend creates a stress concentration at the edges. When it lands on the new surface, the edges dig in and scratch.
Slide the sheet instead. Keep it in contact with the supporting surface at all times. Use a smooth, flat tool — a glass slide, a polished aluminum plate, or a Teflon sheet — to push the mica across the work surface. The tool takes the abrasion, not the mica.
If you must lift, use two hands and support the sheet from underneath across its full area. Do not let it bend. A mica sheet that bends beyond its elastic limit develops micro-cracks on the tension face. Those micro-cracks are invisible but they weaken the surface and create scratch initiation points.
Work Surface Preparation That Eliminates Scratch Sources
Clean the Work Surface Before Every Operation
A workbench that looks clean is not clean enough for mica thin sheet. Wipe the surface with deionized water and a lint-free cloth before you lay down any sheet. Then wipe it with isopropyl alcohol and let it dry completely. The alcohol removes oily residues that water cannot pick up.
Inspect the surface under a bright light at a low angle. Any visible particle, any scratch, any rough spot must be addressed before the mica touches the surface. A single raised weld splatter on a steel table can scratch an entire batch of mica sheet in seconds.
Use a Sacrificial Layer on Hard Surfaces
Steel tables, aluminum plates, and glass workbenches are all harder than mica. Direct contact means scratches. Place a sacrificial layer between the work surface and the mica sheet.
Clean polyethylene film works well for most operations. It is soft, smooth, and disposable. Kraft paper works for light-duty work but it can shed fibers that scratch the surface. Glass microscope slides work for precision alignment work. Teflon sheet works for high-temperature environments where plastic film would melt.
Replace the sacrificial layer between every sheet. Do not reuse a film that has been in contact with mica. The film picks up microscopic particles from the mica surface and becomes abrasive on the next use.
Avoid Sanding or Grinding Near Mica Sheet
Dust from sanding, grinding, or cutting operations travels farther than you think. A grinding wheel 3 meters away from your mica sheet sends abrasive particles through the air that land on the mica surface and scratch it.
If you must perform any abrasive work in the same room, seal the mica sheet in a closed container with positive air pressure. The positive pressure pushes air out through any gaps, preventing contaminated air from entering. If positive pressure is not possible, move the mica sheet to a separate room. Do not trust a dust mask to protect the mica — it protects you, not the material.
Cleaning Methods That Do Not Scratch the Surface
Compressed Air Is the Enemy of Mica Surfaces
Using compressed air to blow dust off mica thin sheet is one of the worst things you can do. The air blast turns settled dust into airborne abrasives that slam into the mica surface at high velocity. A single blast can create dozens of micro-scratches that are invisible to the naked eye but deadly to dielectric performance.
Never use compressed air on mica surfaces. Use a HEPA-filtered vacuum with a soft brush attachment instead. The vacuum pulls particles away without blasting them across the surface. If you must use air for any reason, use oil-free, filtered air at the lowest possible pressure — and hold the nozzle at least 30 centimeters from the surface.
Wipe With Soft, Lint-Free Cloths Only
Paper towels, tissues, and regular cloths all shed fibers. Those fibers are harder than mica and they scratch the surface as you wipe. Use only lint-free cloths made from microfiber or smooth polyester. Wet the cloth with deionized water or isopropyl alcohol before wiping. A dry cloth drags particles across the surface. A wet cloth picks them up and carries them away.
Wipe in one direction only. Do not rub back and forth. Rubbing creates circular scratches that concentrate electric field. A single straight wipe in one direction removes contaminants without creating directional damage.
Do Not Use Solvent Wipes on Bare Mica
Acetone, toluene, and most industrial solvents dissolve or swell the binder in composite mica sheet. Even on pure mica, solvents can leave a residue film that attracts dust. The residue becomes an abrasive layer the next time you handle the sheet.
If you need to remove a stubborn contaminant, use a mild aqueous cleaner with a non-ionic surfactant. Apply it with a soft cloth, let it sit for 30 seconds, then wipe with a clean damp cloth. Do not scrub. Scrubbing is the fastest way to scratch a mica surface.
Installation Practices That Protect the Surface During Assembly
Mask the Surface Before Any Nearby Operation
If you are soldering, brazing, or grinding near mica thin sheet that is already in position, mask the mica surface with Kapton tape or aluminum foil. Sparks, spatter, and grinding dust all destroy mica surfaces on contact. The mask does not need to cover the entire sheet — just the areas exposed to the operation.
Remove the mask immediately after the operation is complete. Do not leave tape on the mica surface for extended periods. Adhesive residue from tape is difficult to remove and the removal process itself can scratch the surface.
Do Not Force Mica Into Tight Fits
Forcing a mica thin sheet into a slot or a groove that is too tight creates edge damage that propagates onto the face. The sheet bends. The bend creates micro-cracks. The micro-cracks spread across the surface under thermal cycling.
If the fit is too tight, do not force it. Re-machine the slot or the groove. A mica sheet that requires force to install is a mica sheet that will fail early. The cost of re-machining a slot is trivial compared to the cost of replacing a failed winding.
Use Guide Rails During Insertion
When inserting mica thin sheet into a slot or between conductors, use smooth guide rails on both sides. The rails keep the sheet centered and prevent it from dragging against the slot walls. The rail material must be softer than mica — use brass, aluminum, or UHMW polyethylene.
The guide rails also prevent the sheet from bending during insertion. A sheet that enters a slot straight stays flat. A sheet that enters at an angle bends, and the bend creates surface damage that no amount of post-installation care can fix.
Inspection Methods That Catch Scratches Before They Cause Failure
Visual Inspection Under Angled Light
A scratch on mica is invisible when you look straight down at the surface. The light reflects off the flat face and you see nothing. Tilt the light to a low angle — 15 to 30 degrees from the surface — and every scratch becomes a shadow line.
Inspect every sheet before installation. Hold it up to a bright light at a shallow angle and rotate it slowly. Any line, any groove, any mark that was not there before is a scratch. Reject any sheet with visible scratches. Do not install it and hope for the best. A scratched sheet in a high-voltage winding is a failure waiting to happen.
Surface Profilometry for Critical Applications
For high-voltage or high-reliability applications, use a surface profilometer to measure the surface roughness before and after handling. A scratch that is invisible to the eye can still raise the surface roughness from 50 nanometers to 500 nanometers. That change is enough to reduce dielectric strength measurably.
Set a maximum allowable roughness increase of 20 percent. If the post-handling measurement exceeds that threshold, the sheet has been damaged and should not be used. This test takes five minutes and it catches damage that visual inspection misses.
Dielectric Strength Testing After Handling
The ultimate test is dielectric strength. If you suspect a sheet has been scratched during handling, run a breakdown voltage test on a sample piece. A scratch that reduces breakdown voltage by even 10 percent is a serious defect. Do not install that sheet in a critical application.
For routine quality control, test one sheet from every batch of 50. If the breakdown voltage is below the minimum specification, reject the entire batch. The scratches are probably widespread even if you can only see them on one sheet.