Mica Thin Sheets in Epoxy Resin: How Tiny Mineral Flakes Are Changing Decorative Art Forever
There is something mesmerizing about pouring clear epoxy resin and watching it harden into glass. Now imagine dropping a few flakes of mica into that liquid before it cures. When the resin sets, those flakes float suspended inside, catching light from every angle like frozen lightning. That is the magic of mica thin sheets in epoxy art, and it has exploded in popularity among crafters, jewelry makers, and resin artists over the past few years. The results look expensive. They look handcrafted. They look like nothing you can buy in a store. And they start with a mineral that has been used for decoration since ancient times.
Why Mica Thin Sheets Are the Perfect Match for Epoxy Resin
Not every decorative material works well inside epoxy. Glitter sinks to the bottom. Dried flowers turn brown and cloudy. Metal leaf oxidizes and darkens over time. Mica thin sheets do none of those things.
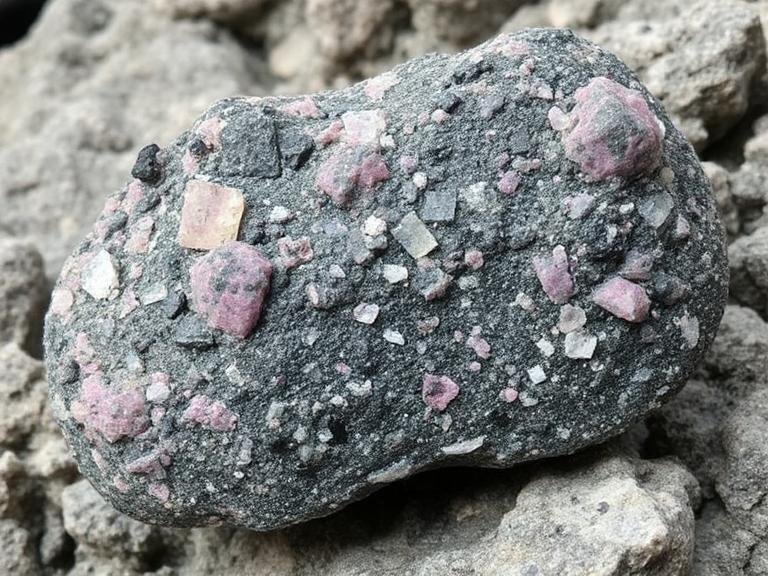
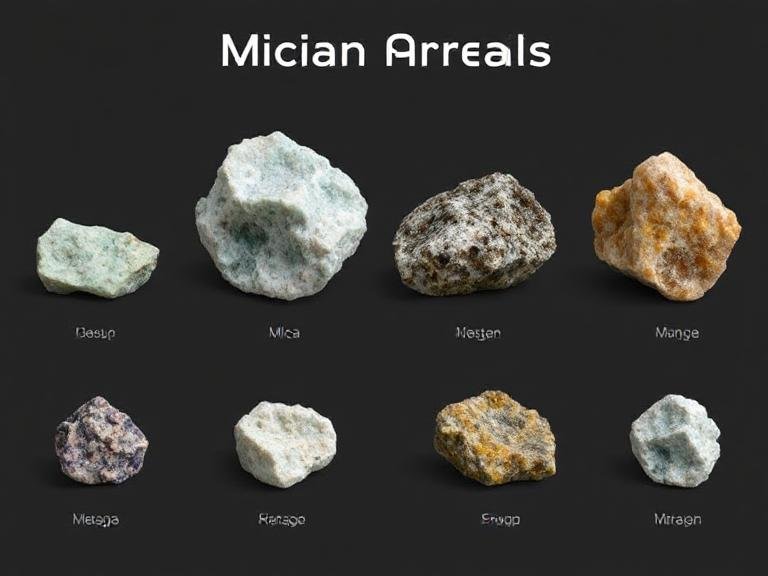
Mica is a naturally occurring silicate mineral that splits into ultra-thin, flat flakes. These flakes are transparent to semi-transparent, with a pearlescent or metallic sheen that shifts depending on the viewing angle. When suspended in clear epoxy resin, the flakes create a depth effect that no other additive can replicate. It looks like light is trapped inside the material, shifting and changing as you move it around.
The flakes are also incredibly thin — often just a few micrometers thick — which means they lay flat inside the resin without creating bumps or texture. The surface stays smooth and glossy, but the interior glows. That combination of a clear, polished exterior with a shimmering interior is what makes mica so much more visually interesting than glitter or pigment.
Another reason mica works so well is its chemical stability. Epoxy resin cures through an exothermic reaction that generates heat. Some decorative materials cannot handle that heat and degrade, discolor, or release gases during curing. Mica is completely unaffected. It sits in the resin at room temperature, survives the cure cycle without any change, and comes out looking exactly the same as it went in.
Popular Ways to Use Mica Sheets in Epoxy Resin Projects
The beauty of mica thin sheets is their versatility. You can use them in almost any epoxy project, and each application produces a different visual effect.
Resin Jewelry and Pendants
This is probably the most popular use of mica in epoxy. Pendants, earrings, rings, and bracelets made with mica flakes suspended in clear resin look like pieces of frozen aurora borealis. The flakes catch light from inside the jewelry, creating a glow that changes color as the wearer moves.
The technique is straightforward. Mix your epoxy resin, pour a thin layer into a mold, and let it get tacky. Then place mica flakes on top of the tacky surface. Pour a second layer of resin over the flakes to seal them in. The flakes stay suspended between the two layers, floating at different depths depending on how much resin you use. Thinner pieces let more light through and make the flakes appear closer to the surface. Thicker pieces push the flakes deeper, creating a more subtle, understated glow.
Resin Coasters and Tabletops
Mica flakes in epoxy coasters and tabletops create a look that mimics natural stone or agate. The flakes float at different depths inside the clear resin, and when light hits the surface, the whole piece seems to glow from within. This is especially effective when you use a dark or colored resin base — black, deep blue, or forest green — because the contrast makes the mica shimmer pop even more.
For tabletops, mica sheets can be layered in multiple pours. Each pour adds a new depth of flakes, building up a three-dimensional effect that looks like looking into a geode. River tables made this way are stunning, and the mica adds a luminous quality that plain wood and resin alone cannot achieve.
Resin Art Panels and Wall Hangings
Artists who work with epoxy resin have embraced mica thin sheets for large-scale panels and wall art. By layering different colors of mica — gold, silver, copper, iridescent — in multiple resin pours, they create abstract pieces that look like nebulae or underwater scenes. The flakes catch light differently depending on where you stand, so the art changes as you walk past it.
This effect is impossible to achieve with paint or acrylic. It is unique to transparent media like resin, and mica is the best material for creating that suspended-light effect.
Resin Keycaps and Desk Accessories
A newer trend in the maker community is using mica flakes in epoxy keycaps for mechanical keyboards. The flakes suspended in clear or tinted resin give each keycap a unique, handmade look. Because no two flakes settle in exactly the same way, every keycap is one of a kind. The same technique applies to desk accessories like pen holders, phone stands, and cable organizers — anything that benefits from a touch of understated shimmer.
How to Get the Best Visual Results with Mica in Epoxy
Using mica in epoxy is easy, but getting the look right takes a bit of practice. Here are some things that make a real difference.
Choose the Right Flake Size
Mica thin sheets come in a range of sizes, from tiny dust-like particles to large flakes several centimeters across. For jewelry and small pendants, smaller flakes work better because they distribute more evenly and create a uniform glow. For coasters and tabletops, larger flakes create more dramatic focal points and a bolder visual statement.
Mixing sizes is also an option. Combining fine mica dust with larger flakes creates a layered effect — the dust gives a general shimmer across the whole piece, while the large flakes provide bright spots of intense reflection. This is a technique that professional resin artists use to add complexity to their work.
Control the Depth of the Flakes
Where the flakes sit inside the resin changes how they look. Flakes near the surface catch more light and appear brighter. Flakes deep inside the resin look softer and more diffused, like light filtering through fog.
To control depth, pour your resin in stages. First, pour a thin base layer and let it cure partially. Then add your mica flakes and pour the top layer. The flakes will sit at the interface between the two layers. If you want them deeper, add more resin on top. If you want them closer to the surface, use less top resin or skip it entirely and seal the flakes with a thin clear coat.
Use Color to Amplify the Shimmer
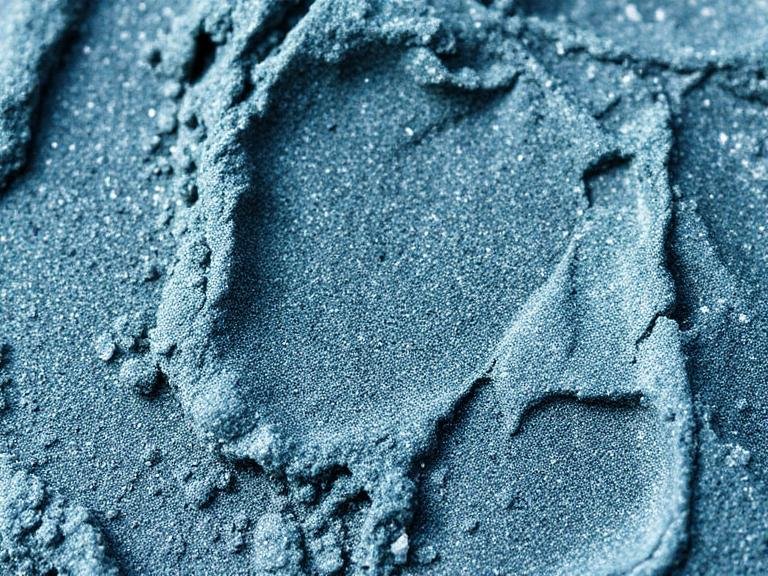
Clear resin with mica is beautiful on its own, but adding a tint takes it to another level. A small amount of transparent resin pigment — blue, green, amber, or rose — shifts the color of the light passing through the mica, which changes the way the flakes appear to shimmer.
Blue-tinted resin with silver mica looks like moonlight on water. Amber resin with gold mica looks like sunlight through honey. Green resin with iridescent mica looks like the inside of an abalone shell. The combinations are endless, and each one produces a completely different mood.
Avoid Air Bubbles Around the Flakes
Air bubbles are the enemy of clear resin art, and mica flakes can actually trap bubbles if they are not handled carefully. When you place flakes into tacky resin, press them down gently with a toothpick or a thin stick. Do not drop them from above — that introduces air. Lay them flat and let the resin flow around them naturally.
If bubbles do form around a flake, a quick pass with a heat gun or torch will pop them before the resin cures. Work fast, because once the resin starts to gel, bubbles become permanent.
Mica Sheets vs Other Decorative Additives in Epoxy Resin
Crafters have a lot of options when it comes to decorating epoxy resin. So why do so many of them end up choosing mica thin sheets over everything else?
Glitter is the most common alternative, and it is also the least impressive. Glitter particles are thick, opaque, and they sink to the bottom of the resin within minutes. The result is a layer of sparkle on the bottom and a clear top — not exactly the suspended, three-dimensional effect that mica provides. Glitter also scratches easily and dulls over time, especially on jewelry that gets worn daily.
Metal leaf and metal flakes look stunning in resin, but they oxidize. Gold leaf turns dull. Copper leaf turns green. Aluminum flakes lose their shine. Mica does not oxidize. It does not tarnish. It looks the same after five years as it did the day you poured it.
Dried flowers and botanicals are popular in resin art, but they have a short lifespan. They turn brown, they cloudy the resin, and they can rot over time if any moisture gets trapped inside. Mica has none of those problems. It is inorganic, it does not decompose, and it never changes color.
Pigment powders and alcohol inks can create beautiful color effects in resin, but they do not add shimmer. They are matte or semi-gloss, and they do not catch light the way mica does. Many artists actually combine mica with pigment powders to get both color and shimmer in the same piece — the pigment provides the hue, and the mica provides the movement.
Tips for Working with Mica Thin Sheets in Epoxy
Store your mica sheets flat and dry. Moisture can cause them to curl or stick together, which makes them hard to handle when you are working with wet resin. A small plastic container with a lid works fine.
Cut mica sheets with scissors rather than tearing them. Torn edges are ragged and create uneven flakes that look messy inside the resin. Scissors give you clean, controlled pieces.
Work in a dust-free environment. Mica dust is fine and floats in the air easily. If it lands on your wet resin, it creates tiny specks on the surface that are hard to remove. A simple dust mask and a closed workspace solve this problem.
Do not overload the resin with too many flakes. A little mica goes a long way. Too many flakes make the resin look cluttered and reduce the clarity. Start with a small amount — a few flakes per square inch — and add more if you want a denser effect.
Seal your finished piece with a clear topcoat if it will see wear. Mica inside resin is protected as long as the resin stays intact, but scratches on the surface can dull the shine over time. A thin layer of clear epoxy or a UV-resistant topcoat keeps the surface glossy and protects the mica underneath.
The Aesthetic Appeal That Keeps Crafters Coming Back
There is a reason mica thin sheets have become the go-to decorative material for epoxy resin artists. It is not just that they look good — although they do. It is that they create an effect that feels alive. The shimmer moves as you move. The color shifts with the light. No two pieces look exactly alike because the flakes settle randomly every time you pour.
That unpredictability is part of the charm. You can control the general look — the color, the density, the depth — but you cannot control exactly where each flake ends up. Every piece is a surprise, and that is what makes handmade resin art with mica so much more interesting than anything mass-produced.
Whether you are making a pendant for yourself, a coaster for a friend, or a large art panel for your wall, mica thin sheets in epoxy resin give you a look that is impossible to achieve with any other material. It is ancient mineral meets modern craft, and the result is something that genuinely stops people in their tracks.