Crafting Stunning Home Decor with Mica Glass Inlay Techniques
Understanding Mica Glass Properties for Decorative Applications
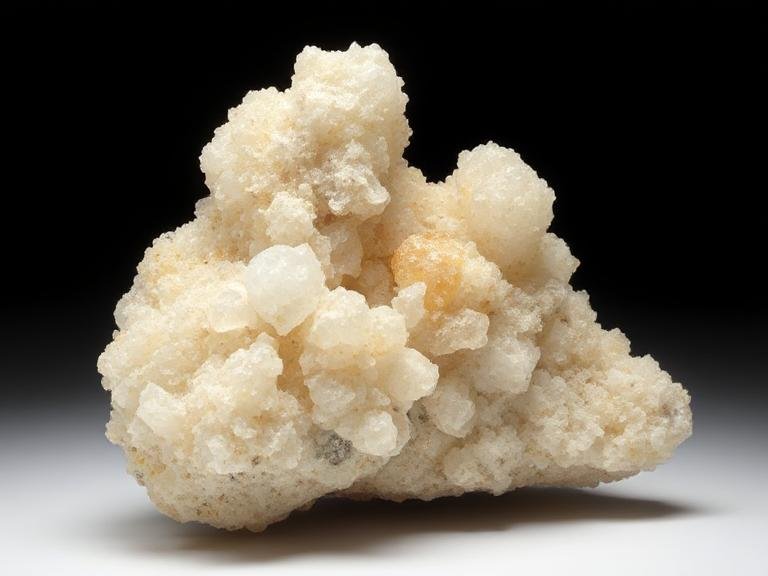
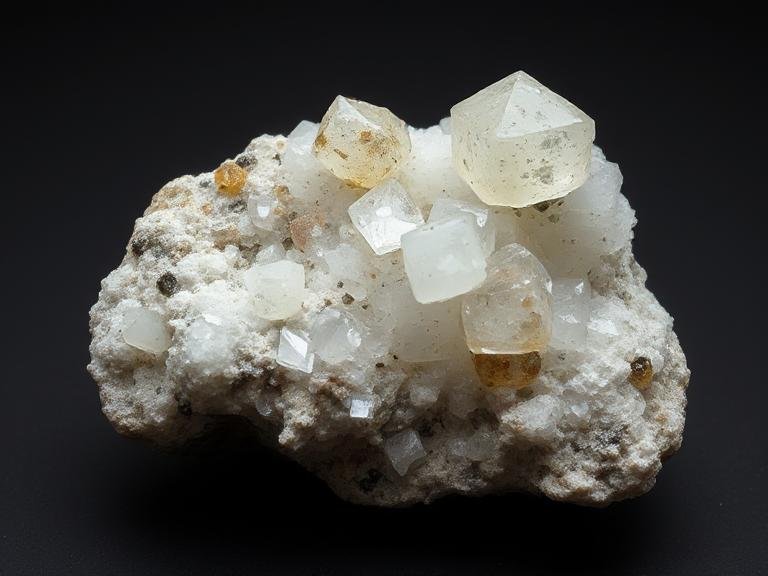
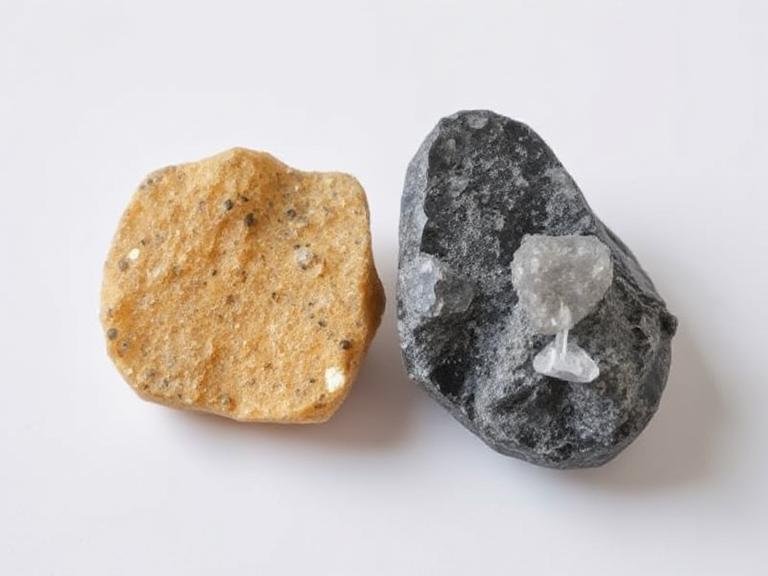
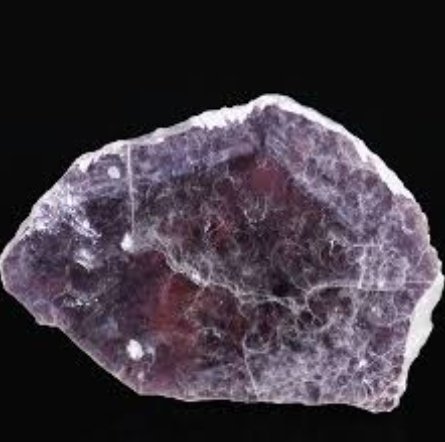
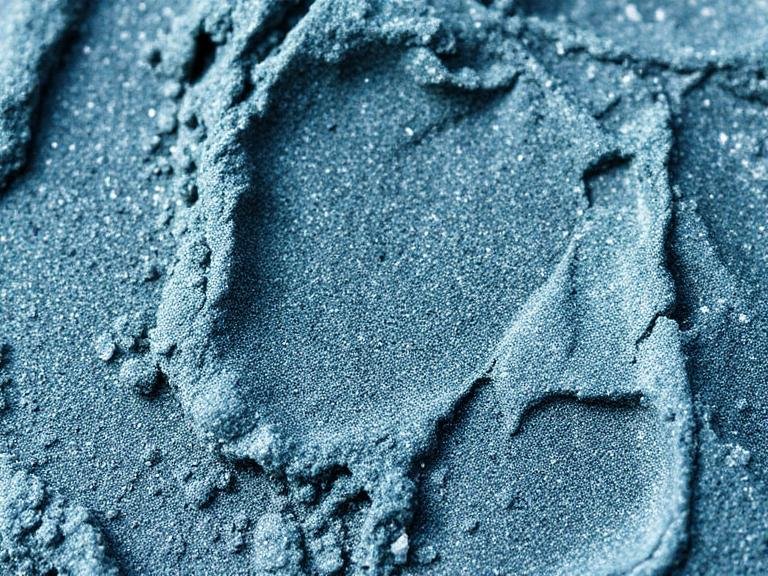
Mica glass combines the natural translucency of mica minerals with the structural stability of glass-like processing. This hybrid material offers unique optical qualities, allowing light to diffuse softly while maintaining durability. The layered structure of mica creates subtle iridescent effects that change with viewing angle, adding depth to decorative surfaces.
Thermal resilience makes mica glass suitable for both indoor and protected outdoor applications. It withstands moderate temperature fluctuations without cracking or warping, unlike traditional glass inlays. This property enables creative installations near heat sources like fireplaces or in kitchens without compromising safety.
Chemical stability ensures long-lasting beauty in home environments. Mica glass resists staining from common household substances like wine, coffee, or cleaning agents. Its non-porous surface prevents bacterial growth, making it ideal for hygienic applications like kitchen backsplashes or bathroom accents.
Preparing Surfaces for Mica Glass Inlay Installation
Proper substrate preparation creates the foundation for successful mica glass installations. For wooden surfaces, sand thoroughly to create a smooth, even base. Remove all dust with a tack cloth or damp rag, ensuring no particles remain that could create unevenness under the inlay.
When working with stone or concrete surfaces, check for moisture content before installation. Excessive moisture can prevent proper adhesion of inlay materials. Use a moisture meter to verify substrate dryness, especially in bathrooms or basements where humidity levels remain high.
Create precise templates for complex designs before cutting mica glass. Trace patterns onto cardboard or heavy paper, then test-fit them on the installation surface. This step helps identify necessary adjustments before working with the more delicate mica material.
Cutting and Shaping Mica Glass for Custom Designs
Safety equipment remains essential when cutting mica glass. Wear protective eyewear and gloves to prevent injury from sharp edges. Work in a well-ventilated area to avoid inhaling any dust created during the cutting process.
Select appropriate cutting tools based on design complexity. For straight cuts, use a glass cutter with a tungsten carbide wheel. Score the mica glass along the cutting line with firm, even pressure, then snap it along the scored line. For curved or intricate shapes, consider using water-cooled diamond saw blades in a rotary tool.
After cutting, smooth all edges to prevent cuts during handling and installation. Use fine-grit sandpaper or a diamond file to round sharp corners and remove any chips. Wipe edges with a damp cloth to remove residual dust before proceeding with installation.
Installing Mica Glass Inlays in Home Decor Projects
Adhesive selection depends on both substrate material and design requirements. For porous surfaces like wood, use a clear epoxy resin that provides strong, permanent bonding. On non-porous surfaces like metal or glazed tile, choose a construction adhesive formulated for glass applications.
Apply adhesive sparingly to avoid squeezing excess onto visible surfaces. Use a notched trowel or small brush to spread adhesive evenly across the substrate area. Press mica glass pieces firmly into place, adjusting alignment immediately as adhesives begin setting quickly.
For large-scale installations, work in sections to prevent adhesive from drying before completing the design. Use spacers to maintain consistent gaps between inlay pieces when creating patterned designs. Remove spacers carefully after adhesive cures partially but before it hardens completely.
Finishing Techniques for Professional-Quality Results
Grouting fills gaps between mica glass pieces in mosaic-style installations. Select a non-sanded grout for narrow gaps (less than 1/8 inch) to prevent scratching the material. For wider gaps, sanded grout provides additional strength. Mix grout to a peanut butter consistency for easy application.
Apply grout using a rubber float held at a 45-degree angle to the surface. Work diagonally across joints to ensure complete filling. After 15-20 minutes, wipe excess grout with a damp sponge using circular motions. Rinse sponge frequently to avoid redepositing grout on the surface.
Polishing enhances the natural luster of mica glass after grouting. Use a clean, dry microfiber cloth to buff the surface gently. For stubborn grout haze, dampen the cloth slightly with water or a mild glass cleaner. Avoid abrasive cleaners that could scratch the delicate surface.
Creative Applications for Mica Glass in Home Decor
Kitchen backsplashes benefit from mica glass’s heat resistance and easy maintenance. Create geometric patterns or flowing designs that complement cabinetry and countertop materials. The translucent quality allows under-cabinet lighting to create dramatic effects after dark.
Bathroom installations leverage mica glass’s moisture resistance. Use it in shower surrounds, vanity backsplashes, or decorative wall panels. The iridescent quality adds luxury to these functional spaces while withstanding humid conditions without degradation.
Furniture accents transform ordinary pieces into statement items. Inlay mica glass into tabletops, cabinet doors, or room dividers. Combine with wood or metal frames for contrasting textures that highlight the material’s unique properties.